Between the two of us, we had some limited experience with baking bread at home and even a little professional experience*, but when Michelle decided that she wanted to get into bread baking more seriously almost a year and a half ago now, she discovered that it was even more demanding than she’d imagined. She started to collect some of the essential literature on the subject, she did a lot of reading, and she acquired things like a proper baking stone, she even got some help from a professional when it came to her sourdough starter, and all of these preparations resulted in some very good loaves of bread, but the loaves were few and far between, and the problem had to do with fitting complicated methods into a busy life. Because of this, Michelle felt vindicated when she came across a review of a half-dozen of the top North American books on bread baking in the last issue of The Art of Eating (#70) by no less of an authority than James MacGuire, the Montreal-based professional who owned and ran Le Passe-Partout for over 20 years and who now lectures at the CIA (not “the Company,” the other one), among other places. MacGuire’s generous review encompasses everything from a comparison of baking habits in North America and Europe, to a brief history of the challenges encountered by the North American artisanal bread baking movement that began in the 1980s, but for the most part he carefully examines each of the titles under discussion, and doesn’t mince words in his appraisals. MacGuire notes serious problems with most of the books reviewed, and some books even get a drubbing, but one of his biggest gripes has to do with how overly and (in some cases) needlessly complicated these bread books tend to be. He quips that with some of these books, “the necessary dedication might lie somewhere between that required by a serious hobby and a minor religion,” before singling out Nancy Silverton’s Breads from the La Brea Bakery: Recipes for the Connoisseur: “in one recipe she suggests that readers begin work at six o’clock on Saturday morning in order to have the loaves ready by about ten o’clock that night.” What mystifies MacGuire is that most of these books are both overly technical and riddled with inaccuracies and, from time to time, outright mistakes, and he ends up pointing out that there the market is sorely in need of something that’s both solidly grounded and practical:
Missing from the lineup is a short book that someone could use to bake a few loaves of bread on a Saturday afternoon, a book that would explain what is genuinely essential but still leave room for chores, errands, or even a nap.
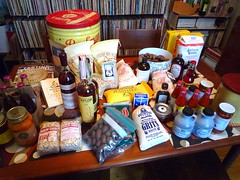
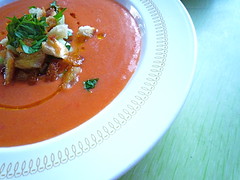
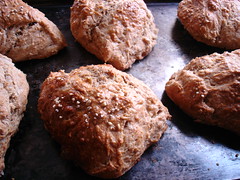
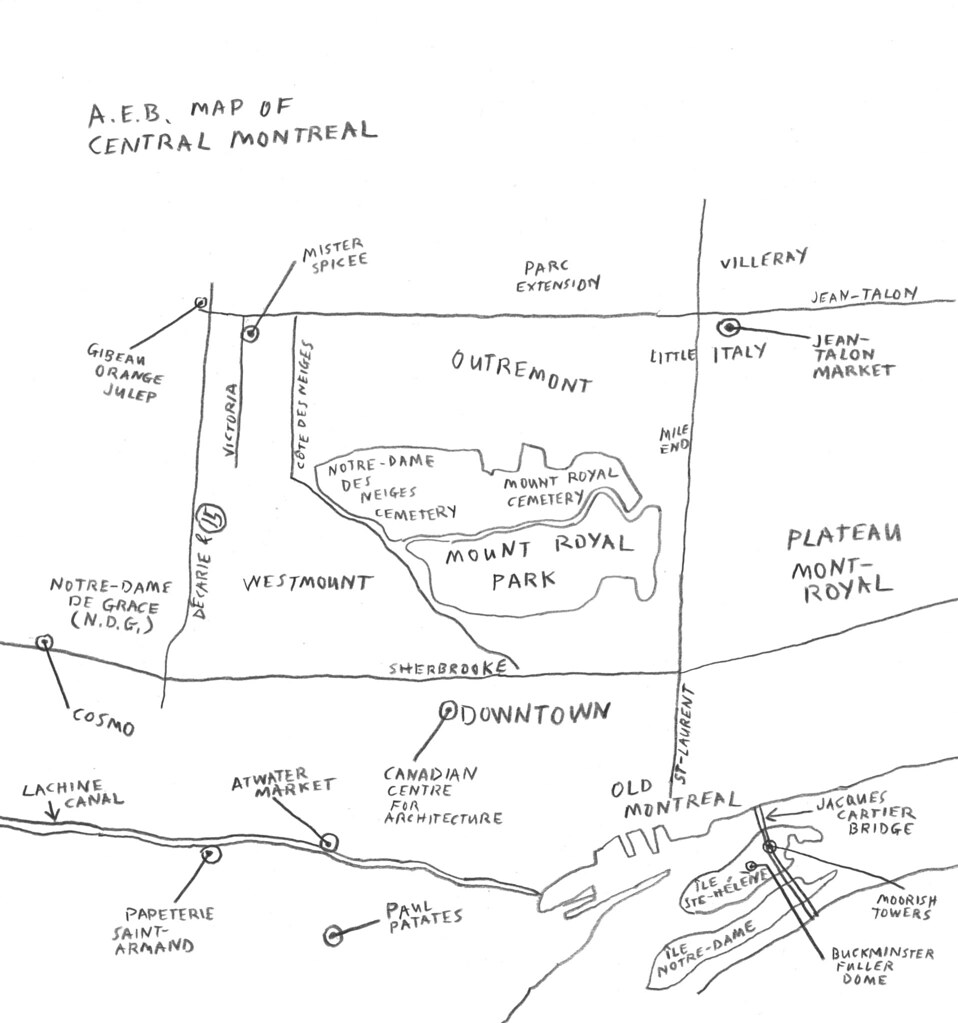
With all this in mind, we’ve recently decided three things: that we want to bake bread more often, that we want to bake bread together, and that we want to focus on recipes that are manageable. Oh, and if we can bake something that’s hard to find or altogether missing from the local bread market (believe me, as good as Montreal’s bread can be at times, this isn’t difficult), all the better. That’s why we made our first experiment as part of this new order rye bread. We’re both serious about our caraway rye, and if there’s really a serious rye available in Montreal at present, neither of us know of it. It’s certainly been a while now since there was a true European-style rye bread (MacGuire describes these as having a minimum of 60-65% rye flour) available in Montreal, but these days it’s even hard to find a good North American-style rye (20-30% rye flour). In fact, I'd be surprised if your average Montreal rye loaf (the kind of stuff they use for the smoked meat sandwiches at Schwartz's, say) has more than 10-15% rye flour. Try to find a good caraway rye and your success rate bottoms out entirely.
After consulting a number of recipes, we settled on Rose Levy Beranbaum’s recipe from her
The Bread Bible. Now, MacGuire reviewed this book, of course, and he criticized it for “pseudoscientific precision” as well as for “an admissibly low” ratio of rye to wheat flour “for anything approaching real rye bread,” but we’d decided that weren’t even going to try to make a true European-style rye, that we wanted to make a New York-style rye with plenty of caraway seeds, and we wanted to be able to make our loaf within a matter of a few hours (more or less). We liked the way Beranbaum’s recipe read and it met all the above criteria.
 “Levy’s” Real Jewish Rye Bread
note: keep in mind that we’ve only included the directions for the electric mixer version of this recipe. Michelle got a brand-new KitchenAid mixer for Christmas, so she might as well use it, right?
special equipment: a half sheet pan, sprinkled with cornmeal (Michelle used a piece of parchment instead)
a baking stone OR baking sheet
a mixer
Sponge:
3/4 cup bread flour
3/4 cup rye flour
1/2 tsp instant yeast
1 1/2 tbsp sugar
1/2 tbsp malt flour
1 1/2 cups water (at room temperature, 70º F to 90º F)
In a mixer bowl or other large bowl, place the flour (both kinds), yeast, sugar, malt, and water. Whisk until very smooth, to incorporate air, 2 minutes. The starter will be the consistency of a thick batter. Scrape the sides of the bowl. Set aside covered with plastic wrap while you make the flour mixture.
Flour mixture:
2 1/4 cups bread flour
1/2 tsp + 1/8 tsp instant yeast
2 tbsp caraway seeds
1/2 tbsp salt
1/2 tbsp vegetable oil
2 tsp cornmeal for sprinkling
Combine the ingredients for the flour mixture and add to the sponge. In a large bowl, whisk together the bread flour, rye flour, yeast, caraway seeds, and salt. Gently scoop it onto the sponge to cover it completely. Cover tightly with plastic wrap and allow it to ferment for 1 to 4 hours at room temperature. (The sponge will bubble through the flour mixture in places while you’re waiting. Don’t worry, this is fine.)
Add the oil and mix with the dough hook on low speed (#2 on a KitchenAid) for about 1 minute, until the flour is moistened enough to form a rough dough. Raise the speed to medium (#4 on a KitchenAid) and mix for 10 minutes. The dough should be very smooth and elastic, and it should jump back when pressed with a fingertip. If the dough is at all sticky, turn it out onto a counter and knead in a little extra flour. (The dough will weigh about 2 pounds, 1.7 ounces.
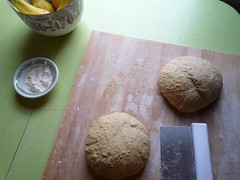
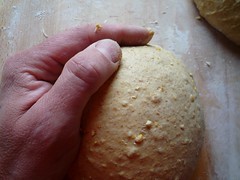
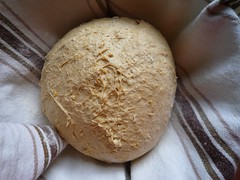
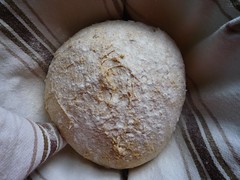
Now it’s time to let the dough rise. Turn the dough out onto a lightly floured counter and press it down to flatten it slightly. Round the dough into a ball about 5 1/2 inches by 2 1/2 inches high and set it on the cornmeal sprinkled baking sheet (or parchment paper). Cover it with a large container or oiled plastic wrap. Let the dough rise until almost doubled, about 1 hour to 1 hour and 15 minutes. It will be about 7 1/2 inches by 3 1/2 inches high, and when pressed gently with a fingertip the depression will very slowly fill in.
Preheat the oven to 450º F one hour before baking.
With a sharp knife or single-edged razor blade, make 1/4- to 1/2-inch-deep slashes in the top of the dough. Mist the dough with water and quickly but gently set the baking sheet on the hot stone or hot baking sheet (if you use parchment paper, just slide the loaf onto the hot baking sheet directly). Bake for 15 minutes. Then lower the temperature to 400º F and continue baking for 30 to 40 minutes or until the bread is golden brown and a skewer inserted into the middle comes out clean (an instant thermometer inserted into the center will read about 190º F).
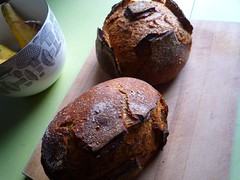
Remove the bread from the oven, and transfer to a wire rack to cool completely.
Being fans of a hearty, full-flavored rye, we followed Beranbaum’s “Ultimate Full Flavor Variation,” which meant that we allowed the sponge to ferment for 1 hour at room temperature, then refrigerated it for almost 24 hours.
Because Canadian unbleached all-purpose flour is higher in gluten than its U.S. counterpart, and therefore a lot closer to bread flour than it would be in the States, we opted to use it instead of bread flour. Michelle feels like she’s already got too many different types of flour on hand without having to buy yet another one.
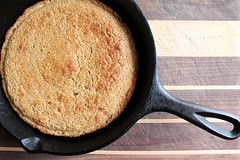
Also, Beranbaum actually recommends a method whereby a cast-iron skillet or sheet pan is placed on the floor of the oven, then filled with 1/2 cup of ice cubes at the point when you begin baking the bread (the skillet or sheet pan should be pre-heated, of course). This method adds steam to the baking environment and makes for a better crust. We would love to use this method ourselves, but our oven won’t allow for it. Our crust turned out wonderfully anyway.
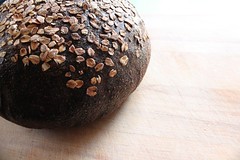
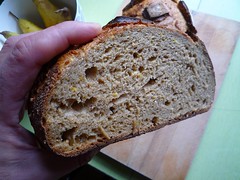
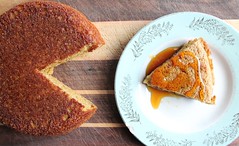
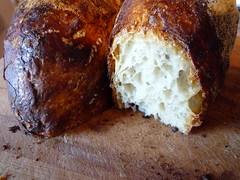
As indicated earlier, Beranbaum’s rye is very much a New York rye, not at all like the rich, dark ryes I got used to when I lived in Germany (and which Michelle quickly fell in love with when she came to visit). It’s got a good rye flavor, if a subtle one, and it contains just the perfect amount of caraway. It’s also remarkably sweet—not cloyingly sweet, mind you, but it’s definitely got a perkiness to it. That being said, this is an excellent loaf, and one that’s very manageable. I wouldn’t quite characterize it as a “Saturday afternoon bread,” but it’s pretty close.
Just how good is this rye? Well, Michelle’s mom (a.k.a. Helen)
danced after she tasted the 1/2 loaf Michelle brought to her. Helen doesn’t suffer poor loaves of rye gladly and she doesn't dance very often, so that's saying something.
Next up: true pumpernickel.
As for that "as yet unwritten Saturday afternoon bread book"--if only MacGuire would write it. Just imagine.
aj
*Ha, ha. That’s a laugh—I was the temporary, fill-in bread baker at a vegetarian take-out restaurant in London in the early 1990s. I had some previous experience in the kitchen, so I did a reasonable job. I did make improvements to the house cornbread recipe, though, using my American know-how. When the regular bread baker came back from “vacation” (he’d had a nervous breakdown), I was moved to food prep in the kitchen because they liked me and I was competent. I remember that the regular bread baker was a bit difficult, prone to frustration and fits of rage. The rumor was that he had a plate in his head, and that when things got hot (literally) in the kitchen/bakery, well…
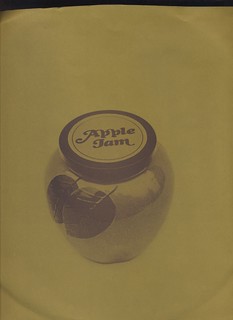 fig. a: George's Apple Jam
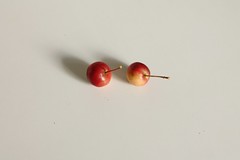 fig. b: crabapples
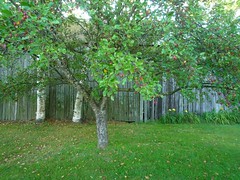 fig. c: crabapple tree
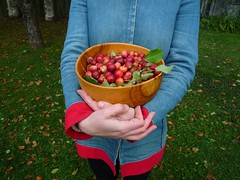 fig. d: freshly picked crabapples
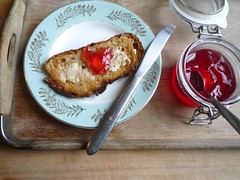
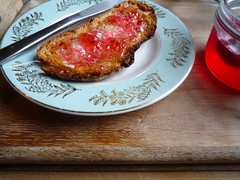 figs. e & f: crabapple jelly for breakfast
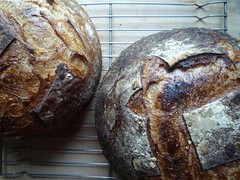 fig. g: pain de campagne
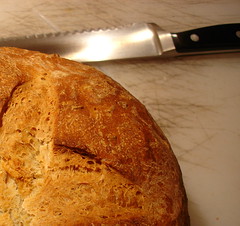
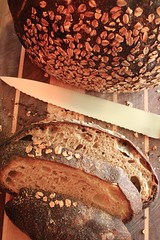


